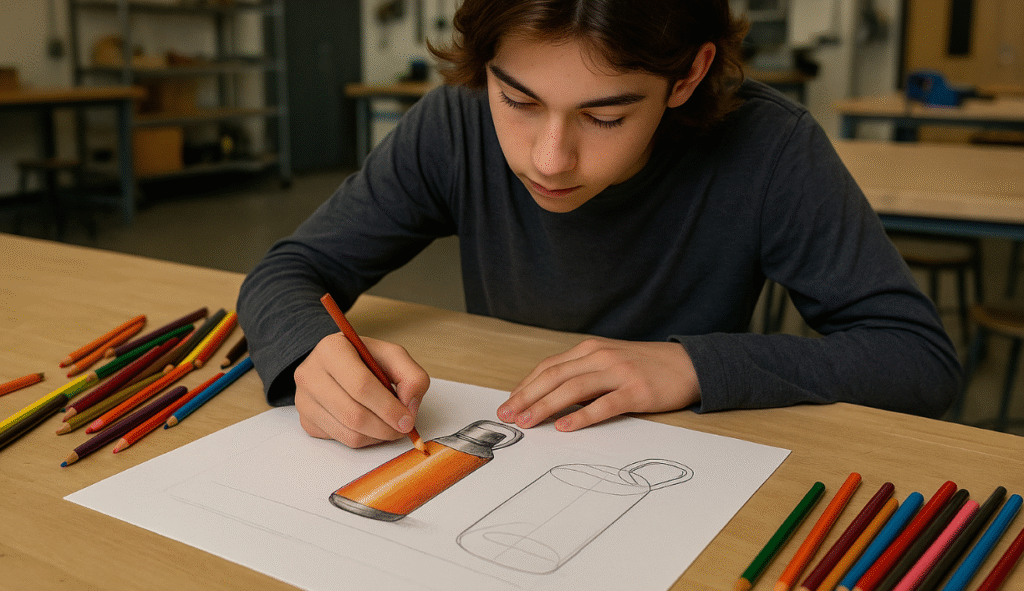
Design and Technology students often have to render their drawings using graphite pencil, coloured pencil, marker pens, and other graphic mediums. This article provides an introduction to rendering to help students create drawings that accurately represent material, surface texture, and 3D form.

What is rendering?
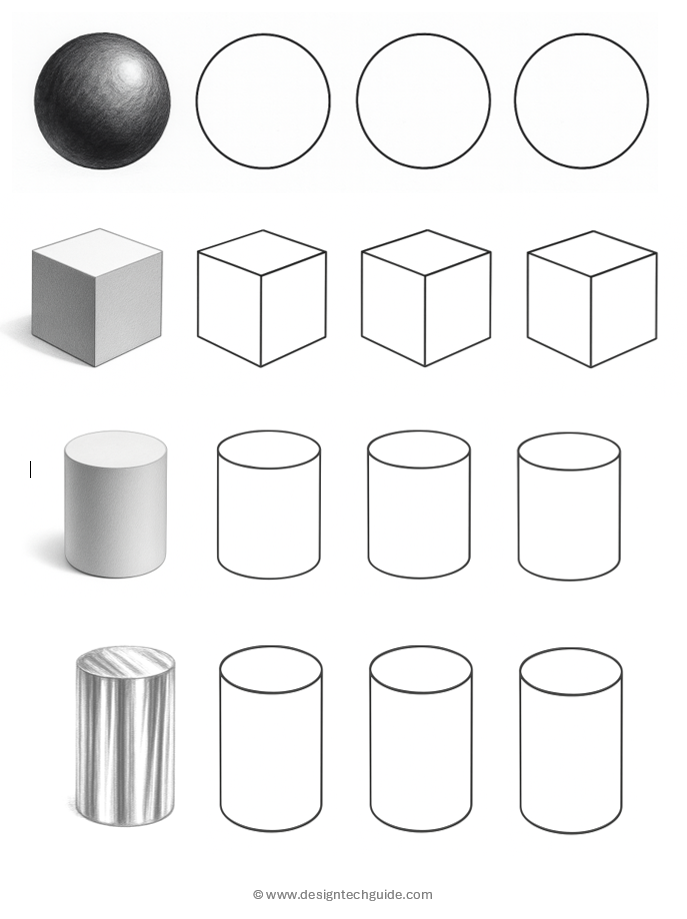
Rendering means to apply tone or “shading” (light and shadow) to represent 3D form and mass. It includes mark-making to show texture and reflective surfaces, as necessary to illustrate the appropriate material.

How to make a drawing look 3D with shading (simple guidelines)
- Make flat surfaces one tone (unless cast in shadow)
- Make curving surfaces blend from one tone to another
- Keep a consistent light source (i.e. all surfaces facing one direction should be the same tone, with top surfaces lightest, as light sources usually come from above)
- Aim for three variations of tone is a fast and easy way to make and object look 3D (very light, mid-tone, dark grey)
- Darken shadows, recesses, and holes

Note: These are guidelines are not rigid rules, but are very useful when an object needs to be rendered quickly:
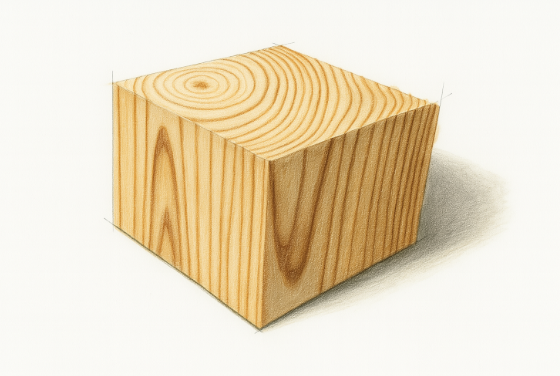
How to render timber

Rendering examples for students
including graphite pencil, coloured pencil, marker pen, watercolour, ink pen, mixed media, and digital rendering;
[coming soon!]
